
Audit-ready unit turn documentation is a single, timestamped record that proves when work started, who did it, what was found, and what was fixed — from move-out through make-ready. Start now: the moment a move-out is confirmed, open one turn record, fill in the unit ID, lease-end date, and the name of the person doing the inspection. That first entry is your chain-of-evidence. Everything else builds on it.
- Create the turn record when move-out is confirmed, not after the inspection
- Capture core metadata first: unit ID, move-out date, inspector name
- Schedule the inspection within 24 hours and attach the first photos to punch-list items
- Log every vendor dispatch, confirmation, and sign-off inside the same record
Key Takeaways
Audit-ready unit turn documentation requires one record per vacant unit, opened at move-out confirmation, with every milestone, photo, vendor action, and invoice attached inside it.
| Point | Details |
|---|---|
| Open the record at move-out | Create the turn record and fill core metadata the moment move-out is confirmed, not after inspection. |
| Inspect within 24 hours | Walk the unit before any vendor arrives to lock in the baseline condition for the punch list. |
| Parallel dispatch cuts turn time | Dispatching nonblocking trades simultaneously can reduce turn time from 12–18 days to roughly 5–7 days. |
| Every invoice needs a link | Attach invoice files to the expense line in the turn record with paid or unpaid status noted. |
| TurnTrack maps to this workflow | TurnTrack's $14.99/mo workspace covers statuses, timeline, inspections, vendor coordination, and the Property Standards Library. |
Table of Contents
- What does every unit-turn record need to include?
- How to structure the turn record as a single source of truth
- How inspections and photos meet audit-grade standards
- How to record vendor dispatches and sign-offs inside the turn record
- What auditors and owners expect from your turn records
- A copyable unit-turn documentation template and inspection checklist
- How to roll out this workflow in 30 days
- The documentation mistakes operators make most often
- TurnTrack supports this workflow from day one
- Sources
What does every unit-turn record need to include?
A complete turnover documentation packet covers eight categories of fields. Miss one and you have gaps an owner or auditor will find.
Core metadata: unit number or ID, lease-end date, move-out confirmation date and time, and the name of the person who confirmed it.
Timeline dates: tech start, cleaner arrival, carpet or flooring crew arrival, vendor confirmations, final inspection date, and move-in ready date.
Status and flags: Ready, On Track, At Risk, or Overdue. Ready means work is complete and the unit is rentable. On Track means the timeline is holding. At Risk means a milestone is in danger. Overdue means a deadline has passed without completion.
Responsibility fields: assigned in-house tech, vendor name and contact, backup vendor, and the name of the final verifier.
Work details: punch-list line items with severity classification (cosmetic, functional, or safety), materials used, and labor hours.
Cost evidence: invoice number, amount, paid or unpaid flag, and a link to the uploaded receipt or file.
Photo and media fields: before and after tags, timestamp, actor (inspector versus vendor), and an optional scale reference for damage documentation.
Notes and approvals: QA sign-off, owner approval when a capital expenditure threshold is exceeded, and the final verifier's name.
How to structure the turn record as a single source of truth
The single-record principle is straightforward: one turn record per vacant unit, with all activities nested inside it. No parallel spreadsheets, no separate work orders floating in email, no notes living in someone's phone. When a dispute comes up three months later, there is one place to look.
The timeline runs in a fixed sequence: Move-Out → Tech Start → Cleaners → Carpet/Flooring → Inspection → Make-Ready. A correctly sequenced make-ready finishes in three to five days; sequencing failures commonly double that. The record enforces the sequence by making each stage visible to everyone on the team.
| Status | Meaning | Trigger to change |
|---|---|---|
| Ready | Unit is complete and rentable | Final QA sign-off recorded |
| On Track | Timeline is holding | No milestone missed |
| At Risk | A milestone is in danger | Vendor unconfirmed or task delayed |
| Overdue | A deadline has passed | Milestone date exceeded without completion |
The activity feed is where the record stays alive. Every update gets a timestamp and the name of the person who made it. Photos attach to specific line items, not to the turn as a whole. That attachment is what makes a photo auditable: it answers "which item, which room, which stage" without anyone having to explain it later.
On task dependencies: repairs must finish before paint, paint before flooring. Those are blocking relationships. Cleaning and carpet can often run in parallel once repairs are done. The record should reflect that logic so dispatchers are not waiting on tasks that could run simultaneously.
How inspections and photos meet audit-grade standards
Inspect within 24 hours of move-out, before any vendor touches the unit. That timing matters because it establishes the baseline condition the punch list is built from. A mid-turn inspection catches work quality before final finishes go in. A move-in inspection closes the record.
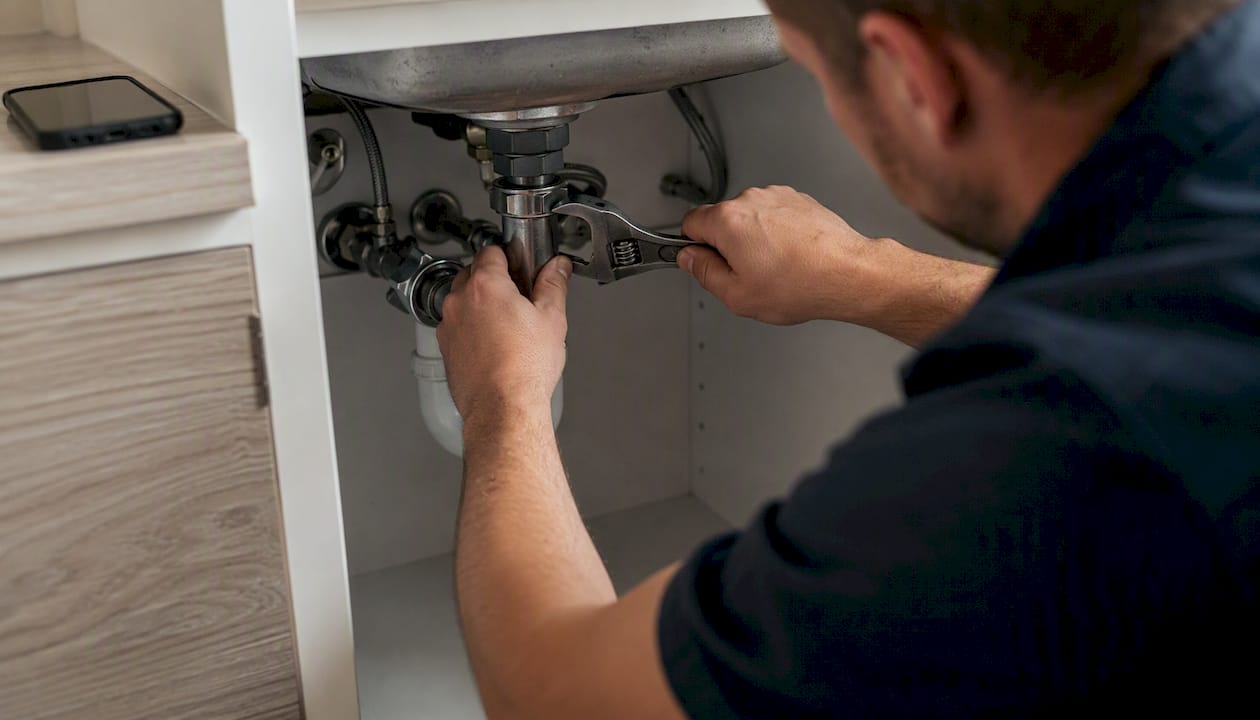
Photo standards per room: industry guidance recommends at least five photos per room — four wall or corner angles plus one overview — with close-ups for any deficiency. Before and after pairing is required for any item on the punch list. An optional scale reference (a coin, a tape measure) helps when damage size is disputed.
Tagging rules: attach every photo to its punch-list line item. Mark severity: cosmetic (paint scuff), functional (broken door latch), or safety (exposed wiring, missing smoke detector). Safety items require a close-up regardless of size.
Walk checklist: compare current condition to the move-in report, test HVAC and appliances, record meter reads, log key return, and note the resident's forwarding address.
Storage: keep originals in the activity feed tied to the turn record. Separate cloud folders and text threads break the chain-of-evidence because they are not timestamped to the turn and cannot be exported with it.
Pro Tip: Require the inspector to photograph the smoke detector with the replacement date written on a piece of tape before the unit is closed out. That single photo answers the most common safety audit question without any follow-up.
How to record vendor dispatches and sign-offs inside the turn record
Every vendor dispatch needs a timestamped work order inside the turn record. The work order should include the scope summary, required photos, and the deadline. That entry is your proof of dispatch — not a text message, not a verbal agreement.
Coordination gaps, not vendor execution, account for most extended turn times. A short confirmation window — two hours is a reasonable standard — with an escalation rule if the vendor does not confirm recovers half a day or more per incident.
- Dispatch cleaners immediately on inspection completion; do not wait for the full punch list to be finalized
- Dispatch nonblocking trades (cleaning, carpet) in parallel once repairs are complete
- Require vendor-uploaded photos and a signed completion note before marking the task done
- Attach the invoice reference and paid or unpaid status to the vendor's line in the record
- For capital expenditures above your property's approval threshold, record the owner or PM approval decision in the turn record with the approver's name and the date
Pro Tip: Keep the vendor's contact and backup vendor inside the turn record itself. When you are standing in a unit and the carpet crew is unresponsive, you should not be scrolling through your phone contacts — the backup number is already in the record.
What auditors and owners expect from your turn records
The minimum audit packet for a single turn contains six items:
- Move-out confirmation with date and time
- Inspection report with photos attached to punch-list items
- Complete punch list with severity classifications
- Vendor confirmations with timestamps
- Invoices and receipts linked to expense lines
- Final QA sign-off with verifier name and date
Every key action needs a timestamp and the name of the user who performed it. That actor-plus-timestamp pairing is what makes a record credible. A note that says "carpet replaced" is not audit-ready. A note that says "carpet replaced — vendor invoice #1042 attached, $680, paid — photo attached — verified by J. Torres, 10:14 AM" is.
Mature turn programs run playbooks, dashboards, and vendor scorecards to reduce variability. The audit packet is the per-turn output of that system.
| Audit element | What to capture | Where it lives |
|---|---|---|
| Move-out confirmation | Date, time, confirming party | Turn record metadata |
| Inspection with photos | Room-by-room, punch list, before/after | Activity feed, attached to line items |
| Vendor confirmations | Timestamp, scope, deadline | Vendor dispatch entries |
| Invoices and receipts | Invoice number, amount, paid status, file | Expense line attachments |
| Final QA sign-off | Verifier name, date, approval | Closing entry in activity feed |
For retention: export the turn history as a PDF or CSV that bundles the activity feed and photos. Do not alter historic entries. Use append-only notes. Require approver initials for any correction. That discipline is what preserves the audit trail when a dispute surfaces months later.
A copyable unit-turn documentation template and inspection checklist
Turn record template (fill in this order):
- Unit ID and address
- Lease-end date and move-out confirmation date/time
- Inspector name and inspection date
- Status: Ready / On Track / At Risk / Overdue
- Assigned tech and vendor(s) with contact info
- Punch-list items: description, severity, assigned party, due date
- Photo attachments: before/after, tagged to line item
- Invoice links: number, amount, paid/unpaid
- QA sign-off: verifier name and date
Inspection checklist by category (based on the standard eight-category make-ready framework):
- General: doors, locks, windows, screens, paint condition, wall damage
- Plumbing: faucets, supply lines, drains, toilet function, water heater
- Electrical: outlets, switches, fixtures, GFCI test, panel check
- Kitchen: appliances, cabinet hardware, countertops, sink and disposal
- Bathrooms: caulk, grout, exhaust fan, fixtures, mirror
- Floors and surfaces: carpet condition, hard floor scratches, thresholds
- HVAC and safety: filter replacement (document size and date), smoke and CO detectors, thermostat test
- Final clean: all surfaces, appliances interior, windows, trash removed
How to use it on move-out day: fill fields 1 through 3 first, then walk the unit and complete the inspection checklist before any vendor arrives. Attach the first photos to the punch-list items as you go. That sequence means your baseline is locked before anyone touches the unit.
Severity thresholds vary by property. Set them once in your property standards and apply them consistently. A cosmetic threshold at one property may be functional at another based on resident expectations and asset class.
How to roll out this workflow in 30 days
Treating each turn as a small project with defined phases and KPIs — average turn days, on-time completion rate, punch-list rework rate — is what separates a consistent program from a reactive one. Here is a 30-day quick-start:
- Week 1: Select one pilot property. Configure the turn record template and inspection checklist. Assign roles: who opens the record, who inspects, who dispatches vendors.
- Week 2: Onboard vendors using a contractor onboarding checklist. Set confirmation windows and escalation rules. Load vendor contacts into the turn records.
- Week 3: Run the first 3–5 turns using the template. Hold a 15–30 minute field shadowing session with each inspector. Review photo quality and punch-list completeness after each turn.
- Week 4: Review the first 10 completed turns. Measure average turn days, on-time rate, and rework rate. Adjust severity thresholds and photo standards based on what you find.
TurnTrack feature mapping: the unit turn record covers statuses and timeline lanes. The activity feed with optional photos handles documentation. Inspections (Move-Out, Mid-Turn, Move-In) walk room by room on the phone. Vendor coordination lives inside the turn record. The Property Standards Library holds the exact paint color, filter size, and preferred vendor for each property — shareable to a tech without requiring them to have a TurnTrack account.
Pro Tip: Build your Property Standards Library before the first turn goes live. A tech who has to call you to ask what white goes on the walls costs you 20 minutes. A tech who pulls the spec from the app costs you zero.
The documentation mistakes operators make most often
Late inspections are the most common and the most expensive. When the inspection happens 48 or 72 hours after move-out, vendors have often already been in the unit and the baseline condition is gone. You cannot prove what the resident left behind versus what the vendor damaged.
Sequential scheduling is the second problem. Dispatching cleaners only after repairs are fully signed off, then carpet only after cleaning, adds 2–4 days to a turn that could run those stages in parallel. Automation that coordinates inspections, vendor dispatch, and photo-verified completion can reduce average turn time from roughly 12–18 days to 5–7 days by eliminating that coordination lag.
Missing photos and unlinked invoices are the third. A photo sitting in someone's camera roll is not documentation. An invoice in an email thread is not linked to the turn. Both need to be inside the record to be auditable.
The fix for all three is the same: enforce the single-record rule from day one. One record, one timeline, everything attached. Keep activity feed entries short and factual — "carpet replaced, invoice attached" beats a paragraph. Require vendor photo proof for any replaced item. Keep templates property-specific so severity thresholds reflect the actual asset, not a generic standard.
TurnTrack supports this workflow from day one
Running 5–15 active turns at once means documentation either happens inside a shared system or it lives in texts, emails, and someone's memory. TurnTrack is built specifically for multifamily make-ready teams who need the second option to stop being the default.
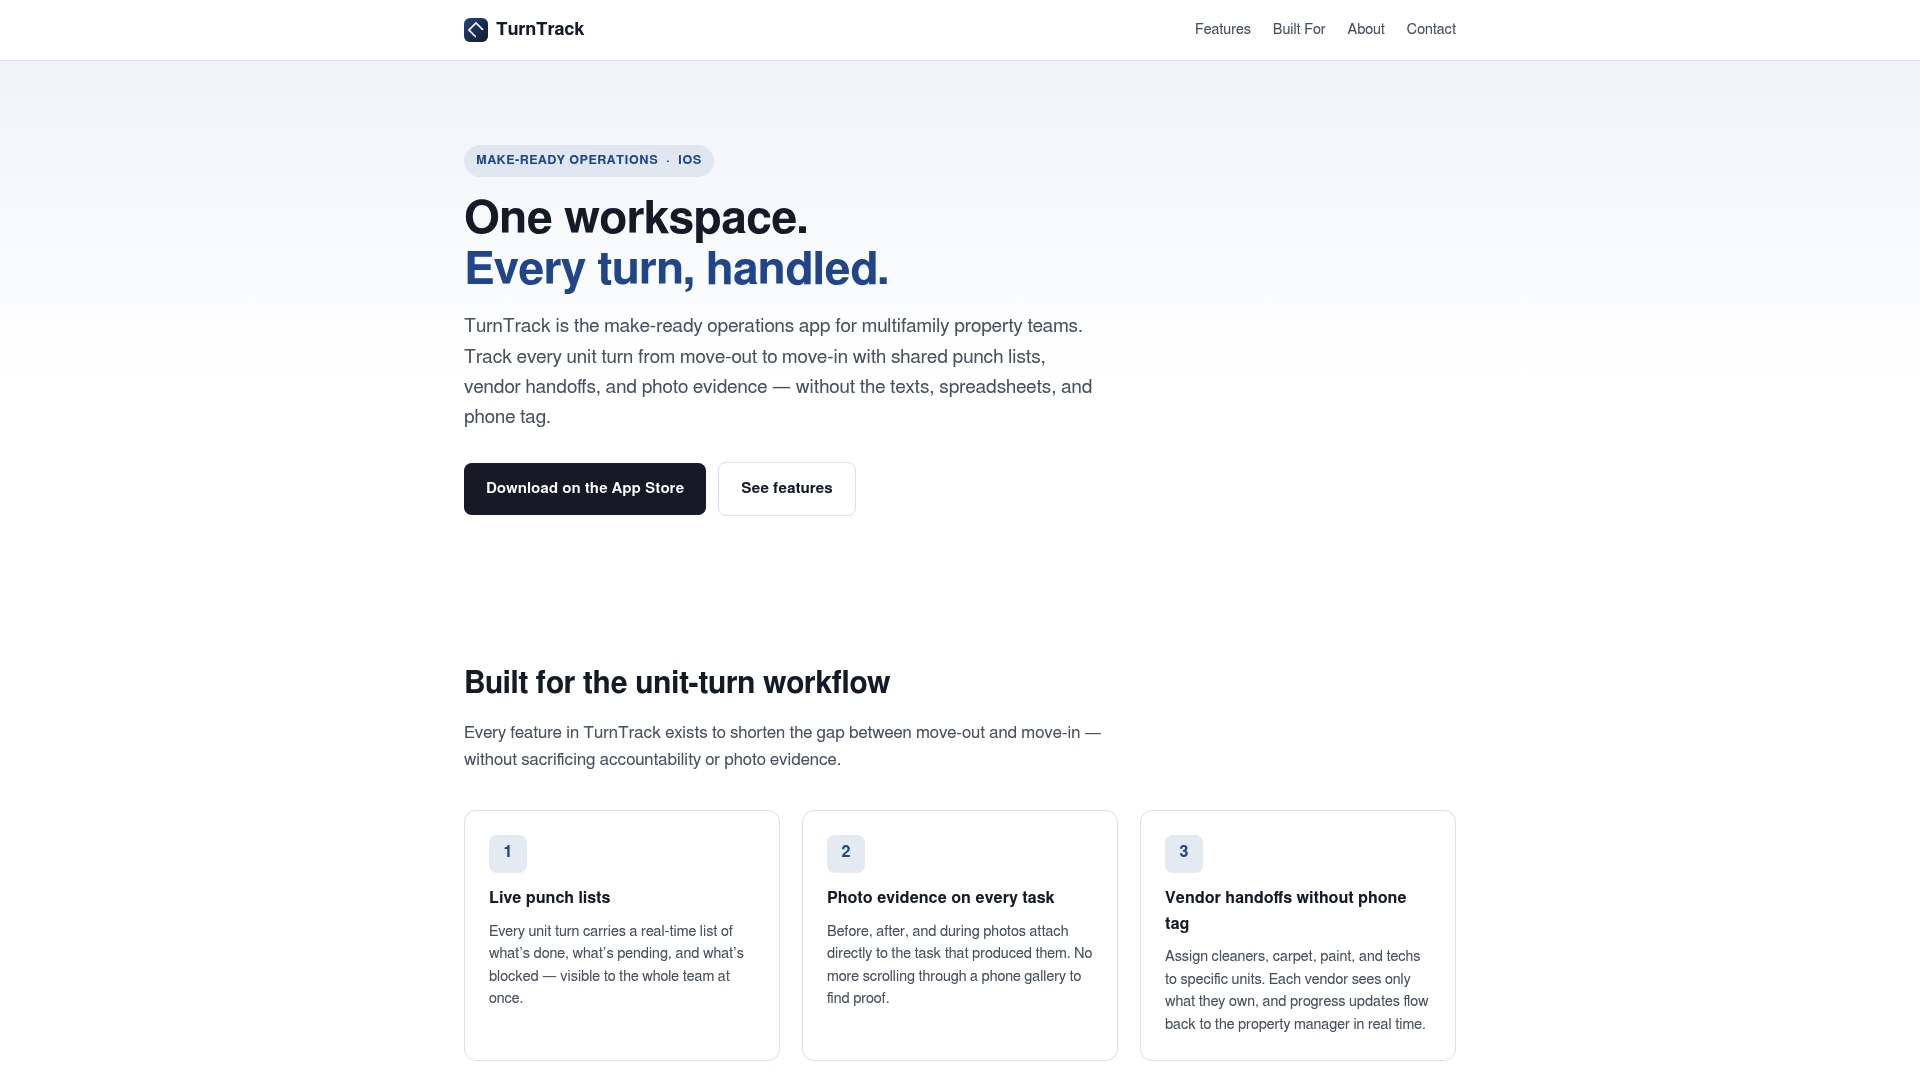
Every turn in TurnTrack gets a record with a status (Ready, On Track, At Risk, Overdue), a timeline from Move-Out through Make-Ready, and an activity feed where optional photos attach directly to inspection items and vendor tasks. Vendor contacts live inside the turn, not in a separate list. The Property Standards Library keeps paint codes, filter sizes, and preferred vendors in one place, shareable to any tech or vendor without requiring them to have an account. The whole workspace runs at $14.99/month with a free trial, covers your invited team, and is available now on iOS via the App Store. Android is coming soon to Google Play.
Start the free trial at TurnTrack, configure one pilot property using the template in this guide, and run your first turn through the full timeline.
Sources
- Apartment Make-Ready Checklist + Free Toolkit (2026) | Lula
- Unit Turnover Automation Checklist: 5-Day Turns in 2026
- Banner — Real Estate CapEx Management for Owners & Operators