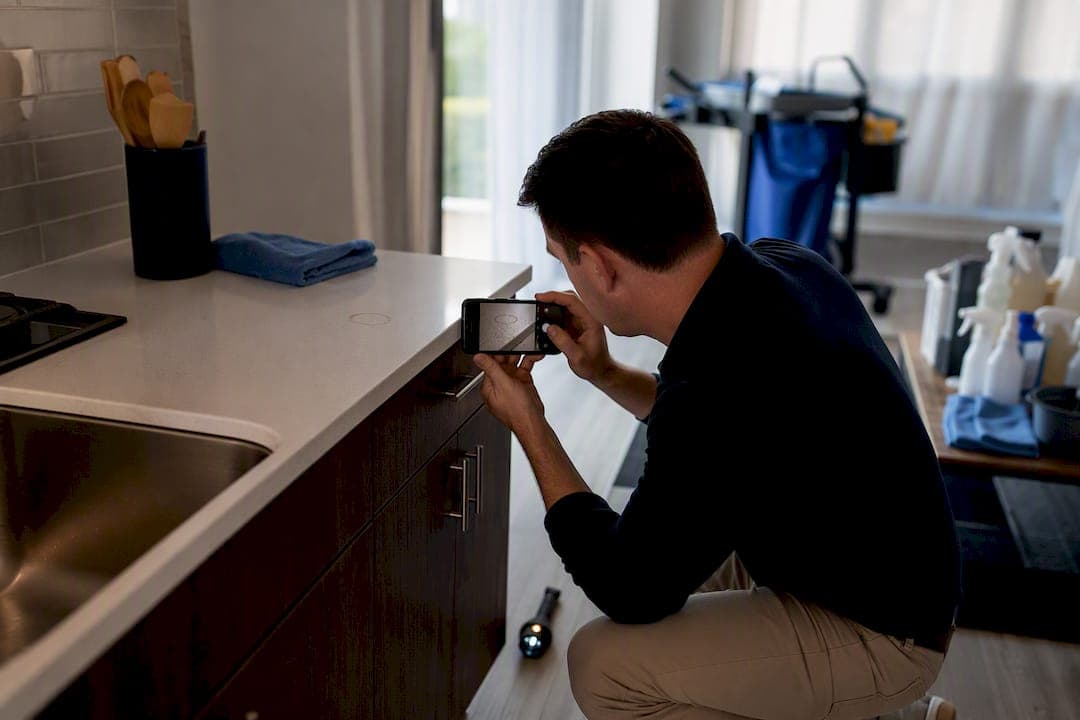
Every defensible unit-turn record starts with the same core shot list: a wide corner-to-corner overview of each room, a reverse angle from the opposite corner, targeted close-ups of any damage or wear, and interior shots of appliances and mechanical components. File all of it into one named iOS album, and export a manifest before you move to the next unit.
That's the whole job, in one sentence. The details make or break whether those photos hold up when a resident disputes a deduction or an owner asks what happened to a unit between leases.
The minimum count that actually protects you: plan on 3 to 5 photos per room, not counting the appliance and mechanical shots. A standardized shooting sequence covering kitchen wides, appliance interiors, bathroom fixtures, bedroom overviews, HVAC filters, and smoke/CO detectors is what separates a usable record from a folder of random snapshots.
Before you touch the first light switch, do this:
- Create the album: [Property] — [Unit] — [Event] — YYYY-MM-DD
- Confirm Location Services and Date & Time are on, so every shot carries GPS and a timestamp automatically
- Shoot the walk in the same room order every time
- Export the album to a ZIP with an Excel manifest the moment you're done, before editing anything
Key Takeaways
Defensible unit-turn photo evidence depends on a fixed shooting sequence, preserved EXIF metadata, consistent album naming, and an exported manifest filed with a signed checklist.
| Point | Details |
|---|---|
| Shoot in fixed order | Follow the same room sequence every walk so reviewers can compare albums quickly. |
| Pair wide shots with close-ups | Overviews establish context; close-ups prove the severity of any damage. |
| Preserve EXIF metadata | Never edit originals before export; duplicate first if annotation is needed. |
| Name albums consistently | Use Property, Unit, Event, Date every time so files are searchable months later. |
| Attach photos where they matter | TurnTrack lets techs attach optional photos to specific tasks and stores property specs in its Standards Library. |
Table of Contents
- Field Shooting Checklist For Unit-Turn Photos
- Camera Settings That Keep Every Photo Consistent
- Preserving Metadata So Your Photos Hold Up Later
- How TurnTrack Handles Optional Photo Attachments
- Storing And Attaching Photos To The Unit Record
- Mistakes That Quietly Wreck Your Evidence Packet
- Try The Workspace Built Around This Workflow
- Sources
Field Shooting Checklist For Unit-Turn Photos
Walk the unit in the same order every single time. It sounds like a small thing, but a fixed sequence, exterior, entry, living room, kitchen, bedrooms, bathrooms, closets, mechanical, is what lets a manager flip through five different techs' albums and immediately know where they are. Random order is how rooms get skipped.
For each room, shoot in this pattern:
- Wide overview from one corner. Stand in a corner, hold the phone at chest height, and capture the opposite corner in frame. This is your context shot.
- Reverse angle from the opposite corner. Confirms nothing was staged or hidden just outside frame one.
- Close-up detail shots. Anywhere you see wear, staining, or damage gets its own dedicated close-up, minimum 2 to 3 per flagged issue.
- Appliance interiors. Open the oven, fridge, and dishwasher and shoot inside, not just the closed exterior.
- Mechanical checks. HVAC filter, smoke detector, and CO detector each get one clear photo showing condition and, where relevant, a date written on the unit.
A move-in inspection checklist built around this same room-by-room logic is what most deposit-dispute defenses lean on, because reviewers can match "before" and "after" images side by side without hunting.
Pro Tip: A wide shot alone won't convince anyone a stain is real damage. Overview photos establish context; close-ups establish severity. Skip either one and you've documented half the story.
Camera Settings That Keep Every Photo Consistent
Consistency beats creativity here. You're not composing art, you're building a comparable record, and that means the same lens, framing, and settings across every unit.
- Shoot room overviews at 0.5x ultrawide. It captures corner-to-corner context that a standard 1x lens simply can't fit in frame.
- Switch to 1x for every close-up and detail shot. The ultrawide lens distorts edges, which makes small damage look bigger or smaller than it is.
- Turn on Grid and Level in Camera settings. A tilted horizon makes photos look unprofessional and can distort your sense of scale on a damage claim.
- Shoot landscape, not portrait. It matches how reviewers expect to see room documentation and fills more of the frame with useful information.
- Turn off Live Photos before you start. Live Photos bloat file sizes and complicate exports, and the extra motion data adds nothing to a static evidence record.
- Save ProRAW for cases where you expect a dispute over color accuracy, like paint matching. It captures more detail but produces much larger files, so use it selectively.
This general approach, ultrawide for overviews, standard lens for detail, grid and level on, mirrors what professional rental photography guides recommend for consistent interior shots.
Before you shoot, run a 30-second staging check: lights on in every room, blinds open for natural light, lens wiped clean, and a tripod or flat surface for any Night Mode shot in a dark closet or mechanical room.
Preserving Metadata So Your Photos Hold Up Later
An iPhone photo already carries the three things that matter most for a defensible record: Date Taken, GPS coordinates, and camera model, all embedded automatically in the EXIF data the moment you press the shutter. The mistake that undoes all of it is editing or screenshotting the image before export, which strips or corrupts that metadata.
Don't touch the originals. If you need to crop or annotate for a report, duplicate the file first and edit the copy, keeping the original untouched in the album.
Name every album the same way: Maplewood Apts — 4B — Move-Out — 2026-06-15. That single naming convention, property, unit, event, date, means anyone on your team can find the right album in seconds, months later, without opening a single photo.
Once the walk is done, export in one motion:
- A ZIP file containing every original photo, untouched
- An Excel manifest (.xlsx) listing Date Taken, GPS Lat/Lng, filename, and camera model for each image, which photo documentation tools built for landlords and PMs can generate automatically
- Both files filed alongside the signed move-in or move-out checklist for deposit itemization
In many US jurisdictions, iPhone-original metadata filed this way functions like a system-generated business record, especially when it's paired with a signed checklist rather than standing alone. A tenant move-out inspection checklist that ties directly to your photo export is the difference between "we have pictures" and "we have evidence."
How TurnTrack Handles Optional Photo Attachments
TurnTrack doesn't force a photo on every task, and that's deliberate. Attach one where the property actually needs it, documenting a smoke detector swap with the date written on it, a damaged cabinet before repair, a finished paint job, and skip it everywhere else. Forcing photos on tasks that don't need them just trains techs to stop looking at the camera prompt.
- Photos attach directly to the specific inspection item or activity update they document, not as a separate, disconnected gallery
- The Property Standards Library stores the exact spec a tech needs, the Sherwin-Williams shade of white for the walls, the HVAC filter size, the preferred vendor, so nobody has to guess or dig through a group text
- Vendor contacts live inside the turn itself, so if the carpet crew needs a callback, the number is right there next to the task
- Status indicators (Ready, On Track, At Risk, Overdue) and the shared timeline keep everyone looking at the same unit-turn record instead of five different text threads
Pro Tip: Keep a small set of "gold standard" reference photos of what a finished turn should look like in your Property Standards Library. New techs compare against it, and drift in cleaning or paint quality gets caught before the unit ever gets shown.
TurnTrack runs $14.99 a month at the workspace level, with a free trial, and it's available now on the App Store for iPhone and iPad.
Storing And Attaching Photos To The Unit Record
Two storage paths exist, and each has a real trade off. Keeping everything in iCloud Photo Library is convenient and automatic, but shared libraries and family sharing settings can complicate who technically has access to sensitive tenant documentation. A local, per-unit export keeps control tighter but adds a manual step.
The practical workflow looks like this:
- Shoot the walk and let it land in your camera roll, sorted by the album you created before starting
- Export the album as a ZIP plus the Excel manifest as soon as the walk is finished
- Attach that export to the unit-turn record or tenant file, either by uploading directly from your iPhone where your platform allows it, or by filing the ZIP alongside the signed checklist
Back up weekly at minimum, daily if you're running several turns at once. Retention should match your state's deposit-dispute window, often one to several years depending on jurisdiction, so don't purge old turn photos just because the unit re-rented without incident.
Mistakes That Quietly Wreck Your Evidence Packet
The most common failure is mixing photos from multiple units into one camera roll with no album structure. Enforce a strict one-album-per-turn rule from day one, and use the same naming template every time so nobody has to think about it mid-walk.
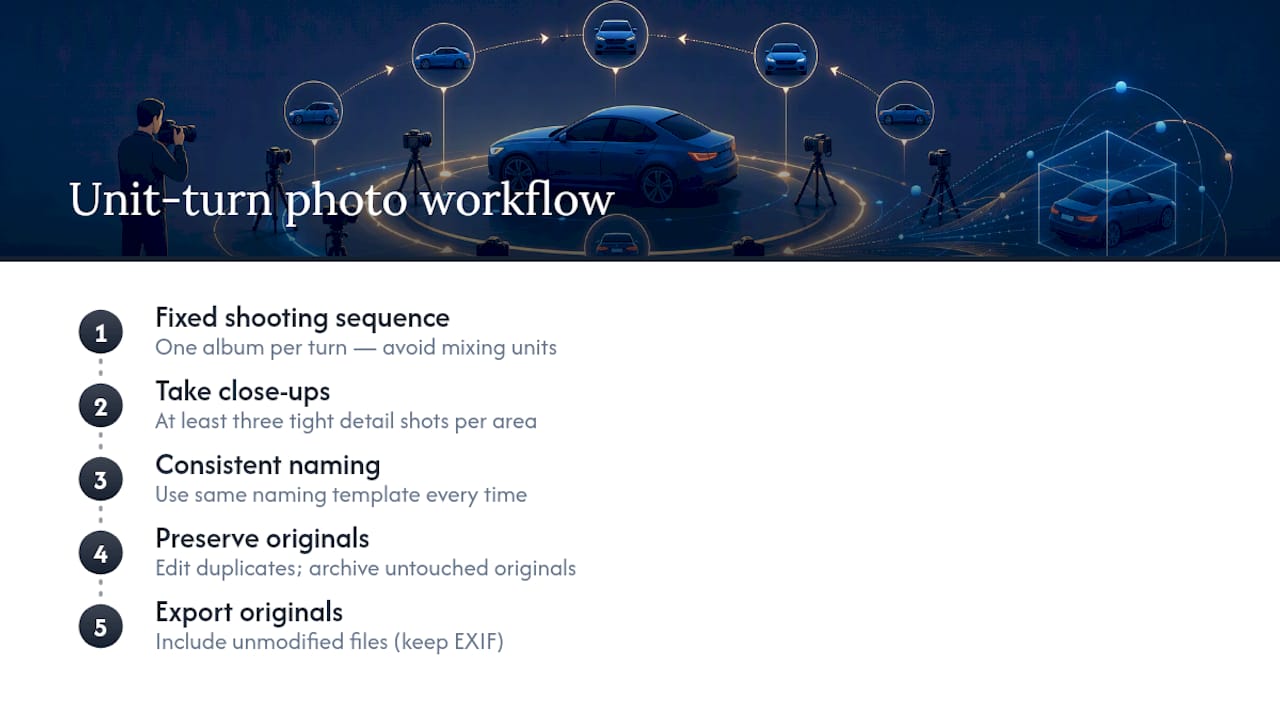
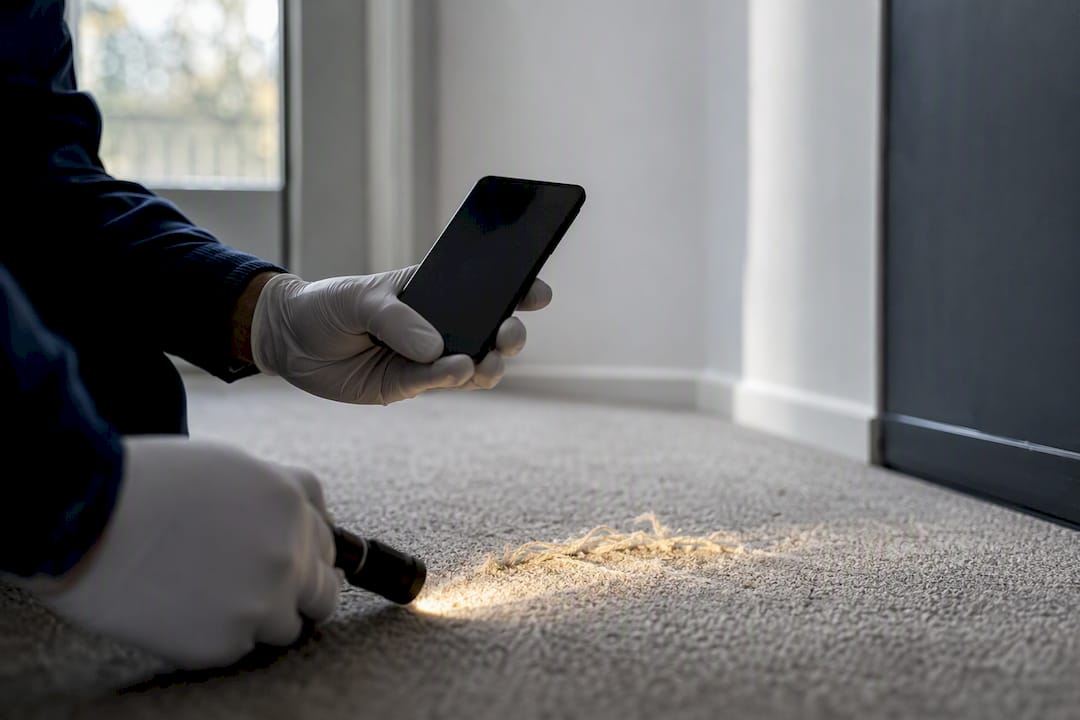
The second failure: skipping close-ups. A wide shot of a stained carpet doesn't prove anything on its own. Force yourself to take at least three tight detail shots of any suspected damage area, even if it looks minor in the moment.
The third: editing photos before export strips the EXIF data that makes them credible. If you must crop or mark up an image for a report, do it on a duplicate and keep the original archived, untouched, in the export.
Pro Tip: If you're not sure whether something counts as damage, photograph it anyway. A photo you don't end up needing costs nothing. A photo you needed and didn't take costs you the dispute.
A Day In The Field: Three Turns, One Workflow
Picture a service manager running three unit turns before lunch. Each unit gets its own album, named before the walk starts. Thirty to fifty photos later per unit, wide overviews, reverse angles, close-ups, appliance interiors, the export takes maybe 30 seconds: ZIP plus manifest, attached straight to the unit-turn record.
The payoff shows up weeks later, when a resident disputes a carpet charge and the manager pulls up dated, geotagged photos in under a minute instead of digging through text threads. Photos stayed optional on tasks that didn't need them, which is exactly how it should work.
Try The Workspace Built Around This Workflow
TurnTrack is the workspace built for exactly the routine described above: optional photo attachments tied to specific inspection items, a Property Standards Library that ends the "what color goes on these walls" text messages, and vendor contacts sitting inside the turn instead of buried in a separate contact list. Status tags like At Risk and Overdue mean a manager overseeing five to fifteen active turns can see problems before they become emergencies, and the activity feed captures photo documentation as a byproduct of the work itself rather than a separate chore.
It runs $14.99 a month per workspace, with a free trial, on iOS through the App Store, with Android coming to Google Play soon. Check availability and start the free trial on the TurnTrack landing page to see how a real unit-turn record looks with your own photo workflow attached to it.
Sources
- iPhone Rental Photography Tips | Take Professional Listing Photos
- Move-In Inspection Checklist: What to Document Before the Tenant Gets Keys | ReportWalk Blog
- Move-In / Move-Out Photo Documentation for Landlords & PMs
- Apartment Turnover Checklist: 150-Point Make-Ready Guide | TurnOver LA