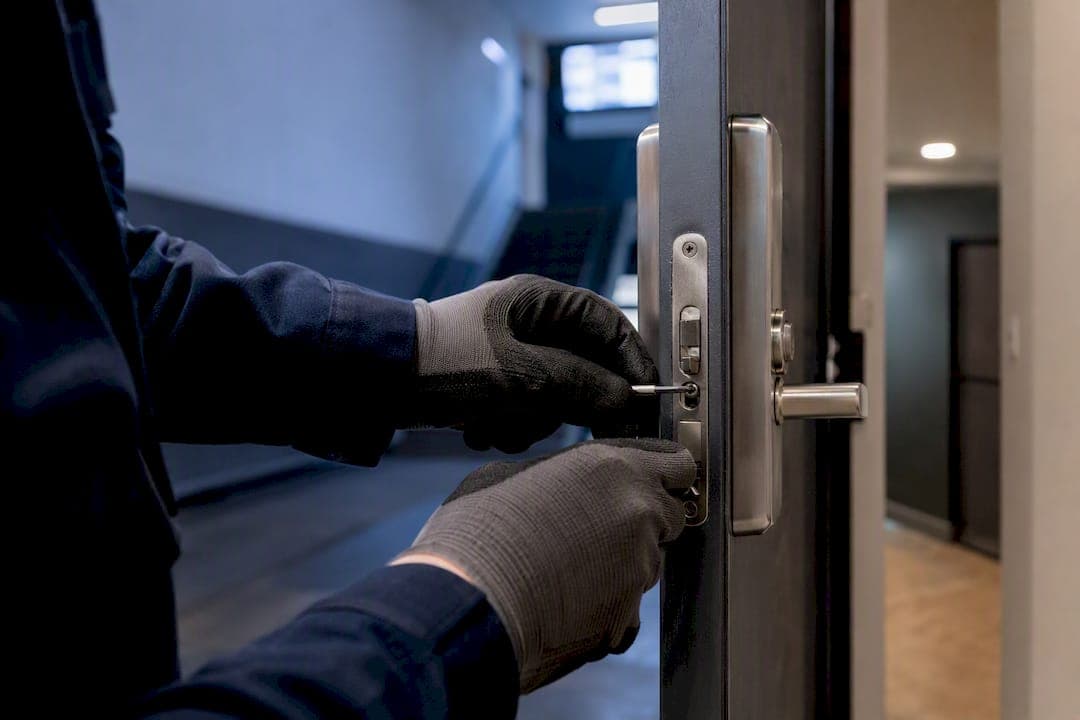
A usable door-hardware standard records the lock model and function, cylinder and keying setup, hinge spec, closer, strike and threshold, finish, any electrified functions, fire-rating, and preferred vendor or SKU, plus one reference photo per opening. That record belongs in a single, sharable Property Standards Library tied to each unit-turn, not scattered across texts and vendor invoices. Get this right and turns move faster: fewer parts orders show up wrong, and vendors stop guessing what they're installing.
TL;DR:
- Standardizing finish codes is crucial because mismatched finishes are the most noticeable issue during walk-throughs and the easiest to prevent.
- Creating and sharing a property-specific hardware spec link with vendors ensures the correct parts are installed on the first visit, reducing rework and delays.
- Standardizing hardware across units limits SKU sprawl, simplifies procurement, and allows for better negotiation on repeat orders and spare parts.
- Regular hardware inspections at move-out, mid-turn, and move-in catch issues early, preventing costly emergency repairs and improving compliance.
- Using a formal property standards library managed by an owner or manager improves consistency, accountability, and reduces stalls caused by relying on memory or informal notes.
Table of Contents
- What is a door hardware standard for apartment turns?
- How do you share hardware specs with vendors and techs?
- Cutting SKU sprawl without losing flexibility
- Preventive maintenance checkpoints that catch problems early
- How door hardware standards cut rework in the turn workflow
- Why ad hoc notes lose to a real standards library
- Put your door hardware standards where the work actually happens
- Where to go for deeper code and procurement detail
- Sources
What is a door hardware standard for apartment turns?
A door hardware standard is a property-specific record of exactly which lock, hinge, closer, and finish belongs on each opening, so anyone touching that door during a turn installs the right part the first time. It's not a code manual. It's your property's answer to "what goes here," documented once and reused on every turn after.
Here's the checklist that actually holds up in the field:
- Door identification: unit number, room, door number, and handing (left or right, in or out swing).
- Lock model and function: passage, privacy, storeroom, or entry function, plus manufacturer and model number.
- Cylinder and keying: cylinder format, keyway, and whether the unit uses a small-format interchangeable core or standard keying tied to the property's master system.
- Hinge spec: 5-knuckle or ball-bearing, size and weight rating, and handing.
- Closer: model and power size, if the door is closer-equipped.
- Strike and threshold: strike type and any gasketing or threshold detail that affects fire or sound rating.
- Finish: the exact finish code, not "brushed nickel" from memory.
- Fire-rating: the opening's listed rating and the specific hardware required to keep that listing valid. Record the number. Don't try to interpret the code yourself; that's a job for your fire marshal or a qualified consultant.
- Electrified functions: power source, transfer hinge or through-wire notes, fail-safe versus fail-secure behavior, and any monitoring output.
- Procurement metadata: preferred vendor, SKU or part number, warranty term, and any approved substitute.
- Photo and condition fields: standard photo angles, install date, last service date, and a simple pass or fail note on operation.
Owner master-spec templates used on institutional construction projects, like the door hardware master spec published by Utah Valley University, organize openings into hardware sets with exactly this level of detail: hinge type, cylinder format, and electrified transfer requirements listed line by line. You don't need construction-grade documentation for a garden apartment community, but the structure is worth copying.
Pro Tip: If you only standardize one field this week, standardize finish codes. Mismatched finishes are the number one thing residents notice on a walk-through, and the cheapest mistake to prevent.
How do you share hardware specs with vendors and techs?
A spec sitting in a filing cabinet doesn't stop a wrong-part install. It has to reach the person holding the drill, in the moment they need it. Here's the sequence that works:
- Build the entry once. Create a Property Standards Library entry for the door type with every field above filled in, plus one reference photo.
- Export a sharable link. Generate a spec sheet vendors and techs can open on their own phone, without creating an account or waiting on a callback.
- Attach it to the turn. Link the spec directly to the unit-turn record so the assigned tech sees the required hardware, preferred SKU, and vendor contact right on the task page.
- Gate completion on evidence. Require the spec fields and a photo before the hardware task can be marked done, so nothing gets closed out on a verbal "yeah, it's fine."
- Standardize the photo angle. Use the same two or three angles every time (lock face, strike area, hinge edge) so nobody has to guess what they're looking at later.
Give every vendor a short arrival checklist: door number, expected lock function, keyway, finish code, and fire-rating if applicable. It takes thirty seconds to check and it prevents the phone call an hour later asking which cylinder goes where.
Cutting SKU sprawl without losing flexibility
Standardize to one preferred lever or lock line per unit type wherever the building allows it, and write down the exceptions instead of letting them multiply informally. A studio and a two-bedroom might justify different lock functions, but there's rarely a reason to run five lever finishes across one property.
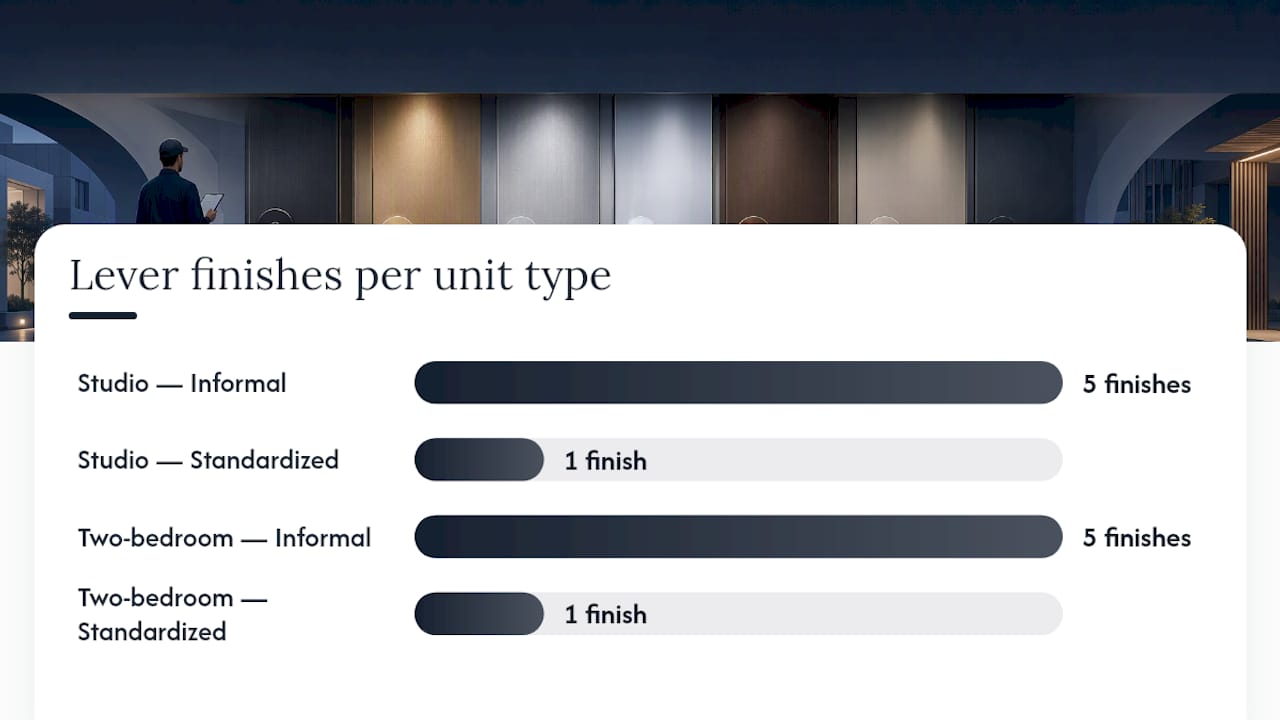
Roll new hardware into door and renovation orders instead of ordering it separately. Coordinating hardware delivery with your renovation schedule, a practice Prime Source Supply recommends for multifamily portfolios, cuts the number of separate deliveries you're tracking and keeps installation from stalling on a missing part. Properties that consolidate this way commonly shrink their spare-parts SKU count and negotiate better per-unit pricing on repeat orders.
A small onsite spares kit should cover your most common failures, not everything you might ever need:
| Spare item | Typical use frequency |
|---|---|
| Standard interior lever sets | High |
| Entry deadbolt cylinders | High |
| Door closers (standard power size) | Medium |
| Hinges (matching primary spec) | Medium |
| Strike plates | Medium |
| Electrified transfer hinges | Low |
Rekey instead of replace when the cylinder is sound and the failure is a lost-key or resident-turnover issue. Replace when you're looking at repeated jams, a security incident, or a part the manufacturer no longer stocks. Feed recurring failures back into your standard: if the same hinge keeps failing on heavy doors, that's a signal to upgrade the spec, not just keep replacing the same part.
Preventive maintenance checkpoints that catch problems early
Build hardware checks into all three turn inspections, not just the final walk-through:
- Move-out inspection: test latch action, key smoothness, and strike alignment before the unit sits vacant.
- Mid-turn inspection: check hinge torque and closer sweep and latch speed once any door work is done.
- Move-in inspection: confirm every lock function matches the spec and, for smart locks, check battery status and connectivity.
Watch for the symptom list that tells you to stop repairing and start replacing: a lever that binds even after adjustment, a closer that won't hold its latch speed, a strike that's been shimmed more than once, or a cylinder that's been rekeyed past its practical limit. Preventive checks like these, KeyMe notes, catch failing hardware before it becomes an emergency call.
Every inspection entry needs a minimum record: date, inspector name, photo, and action taken. That's what makes the log audit-ready six months later when you're trying to figure out why one unit keeps generating tickets. The NAA's 2025 turnover guidance recommends inspecting within 24 hours of move-out specifically so hardware issues surface while there's still time to order parts before the next resident's move-in date.
How door hardware standards cut rework in the turn workflow
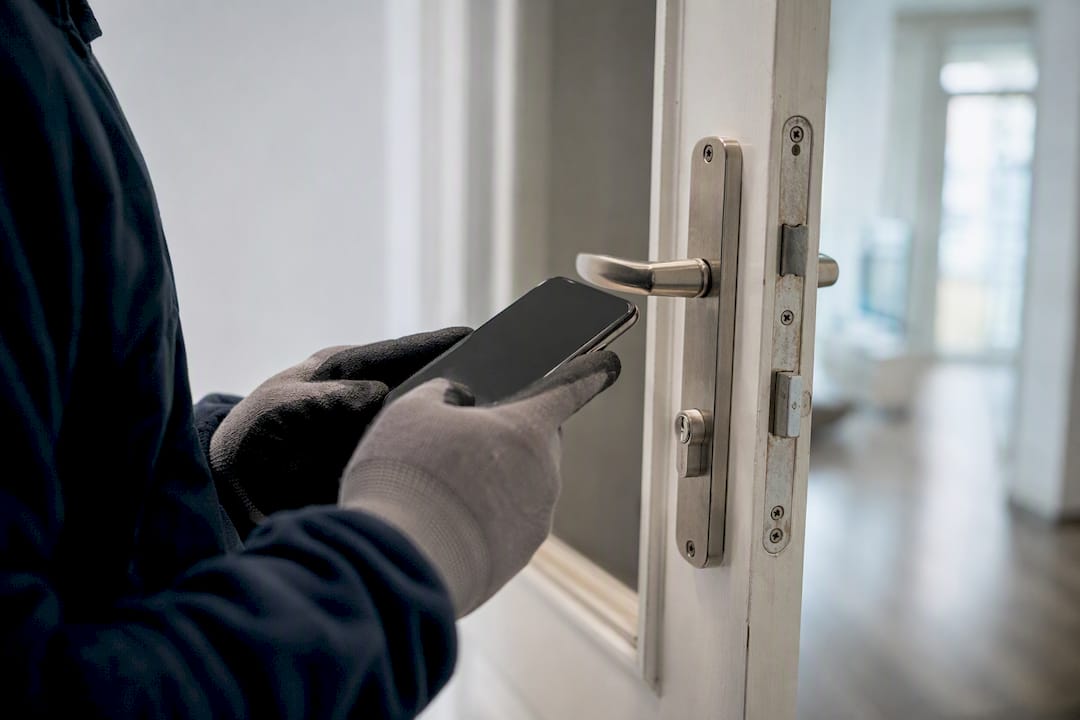
The sequence looks like this: inspection flags a hardware issue, scope gets created with the spec linked, parts get ordered or a vendor gets assigned, the vendor receives the spec sheet and reference photo before showing up, install happens with photo proof attached, and the inspector checks the work against the original spec before closing the task.
Gate progress on required fields, not on someone's word that it's handled:
- Don't let a unit move to "Ready" status if the hardware task is missing its required photo.
- Don't assign a vendor without sending the spec sheet ahead of the visit.
- Do request parts-availability confirmation before the vendor arrives onsite.
- Do require photo proof specifically on fire-rated and electrified openings, where a wrong part is a compliance problem, not just a cosmetic one.
Standardizing hardware this way, as FacilitiesNet has pointed out, reduces the mismatched-component problem that eats technician hours on every future turn. Teams that gate this way typically see fewer reworked tasks, faster vendor first-visit success, and turns that hit their scheduled completion date more consistently.
Why ad hoc notes lose to a real standards library
Texts and sticky notes work until the one person who remembers the keying policy goes on vacation. That's not a hypothetical. It's the normal failure mode on properties without a written standard, and it's why so many turns stall on a part that should have taken ten minutes to confirm.
A standards library only works if someone owns it. Put one person, usually the service manager, in charge of updates, and require a quick sign-off before any spec changes (new finish, new preferred vendor, new lock line). Train vendors once on how to pull the spec sheet, not every visit. When a spec sheet travels with the task instead of living in someone's head, a tech asking "what lever goes here?" gets an answer from the record instead of a guess, and that's the difference between a first-visit fix and a second trip.
— TurnTrack Team
Put your door hardware standards where the work actually happens
TurnTrack is make-ready and unit-turn software built by Alder Meridian LLC, and it's built around exactly the workflow this guide describes. The Property Standards Library holds your hardware specs and shares them as a link vendors and techs can open without creating an account. Every unit-turn record carries a status (Ready, On Track, At Risk, Overdue), a timeline from move-out through make-ready, and an activity feed where photo proof gets attached right to the task, not buried in a separate app.
Vendor contacts live inside the turn itself, so nobody's digging through a phone to find who's doing the carpet work. A workspace subscription runs $14.99 a month with a free trial, available now on iOS through the App Store, with Android arriving soon. Sign up, upload one hardware spec to the Property Standards Library, and run it on your next turn with photo proof required on that hardware task. You'll see the difference on the first vendor visit.
Where to go for deeper code and procurement detail
For fire-rated opening requirements and BHMA/ANSI hardware designations, consult an owner's master-spec template, such as the University of Houston's door hardware specification, which groups hardware sets by opening type.
For installation detail and keying policy, ask your locksmith or hardware manufacturer directly. Low Rate Locksmith's overview of multifamily projects covers key control and rekey documentation in more depth than most property teams need day to day, but it's a solid reference when setting policy.
For electrified hardware wiring basics, a resource like this access control explainer breaks down transfer hinges and power requirements in plain language.
Sources
- Standardizing doors hardware can help prevent problems | FacilitiesNet
- Apartment turnover guidance | NAA (2025)
- Door Hardware master spec (UVU example)
- How to standardize hardware across a multifamily portfolio | Prime Source Supply